目次
Astro.jsでshadcn/uiを使ってみたので備忘録。
shadcn/uiは、使いやすくスタイリッシュなUIコンポーネントを提供するReactライブラリです。
Tailwind CSSがv4になって日が浅いので手順をまとめておきます。
Astroプロジェクトの作成
まず、Astroプロジェクトを作成します。
以下のコマンドを実行して新しいプロジェクトを作成してください。
pnpm create astro@latest
プロジェクトの設定
プロジェクト作成時にいくつかの質問がされます。
以下の()内がおすすめですが、適宜自分に合ったもので回答してください。
- Where should we create your new project?
./アプリの名前 - How would you like to start your new project? テンプレートを選ぶ(
A basic, minimal starter) - Install dependencies? 依存関係をインストールするか(
Yes) - Initialize a new git repository? Gitを始めるか(
Yes)
プロジェクトの起動
プロジェクトが作成されたら、以下のコマンドでプロジェクトを起動します。
cd アプリの名前
pnpm dev
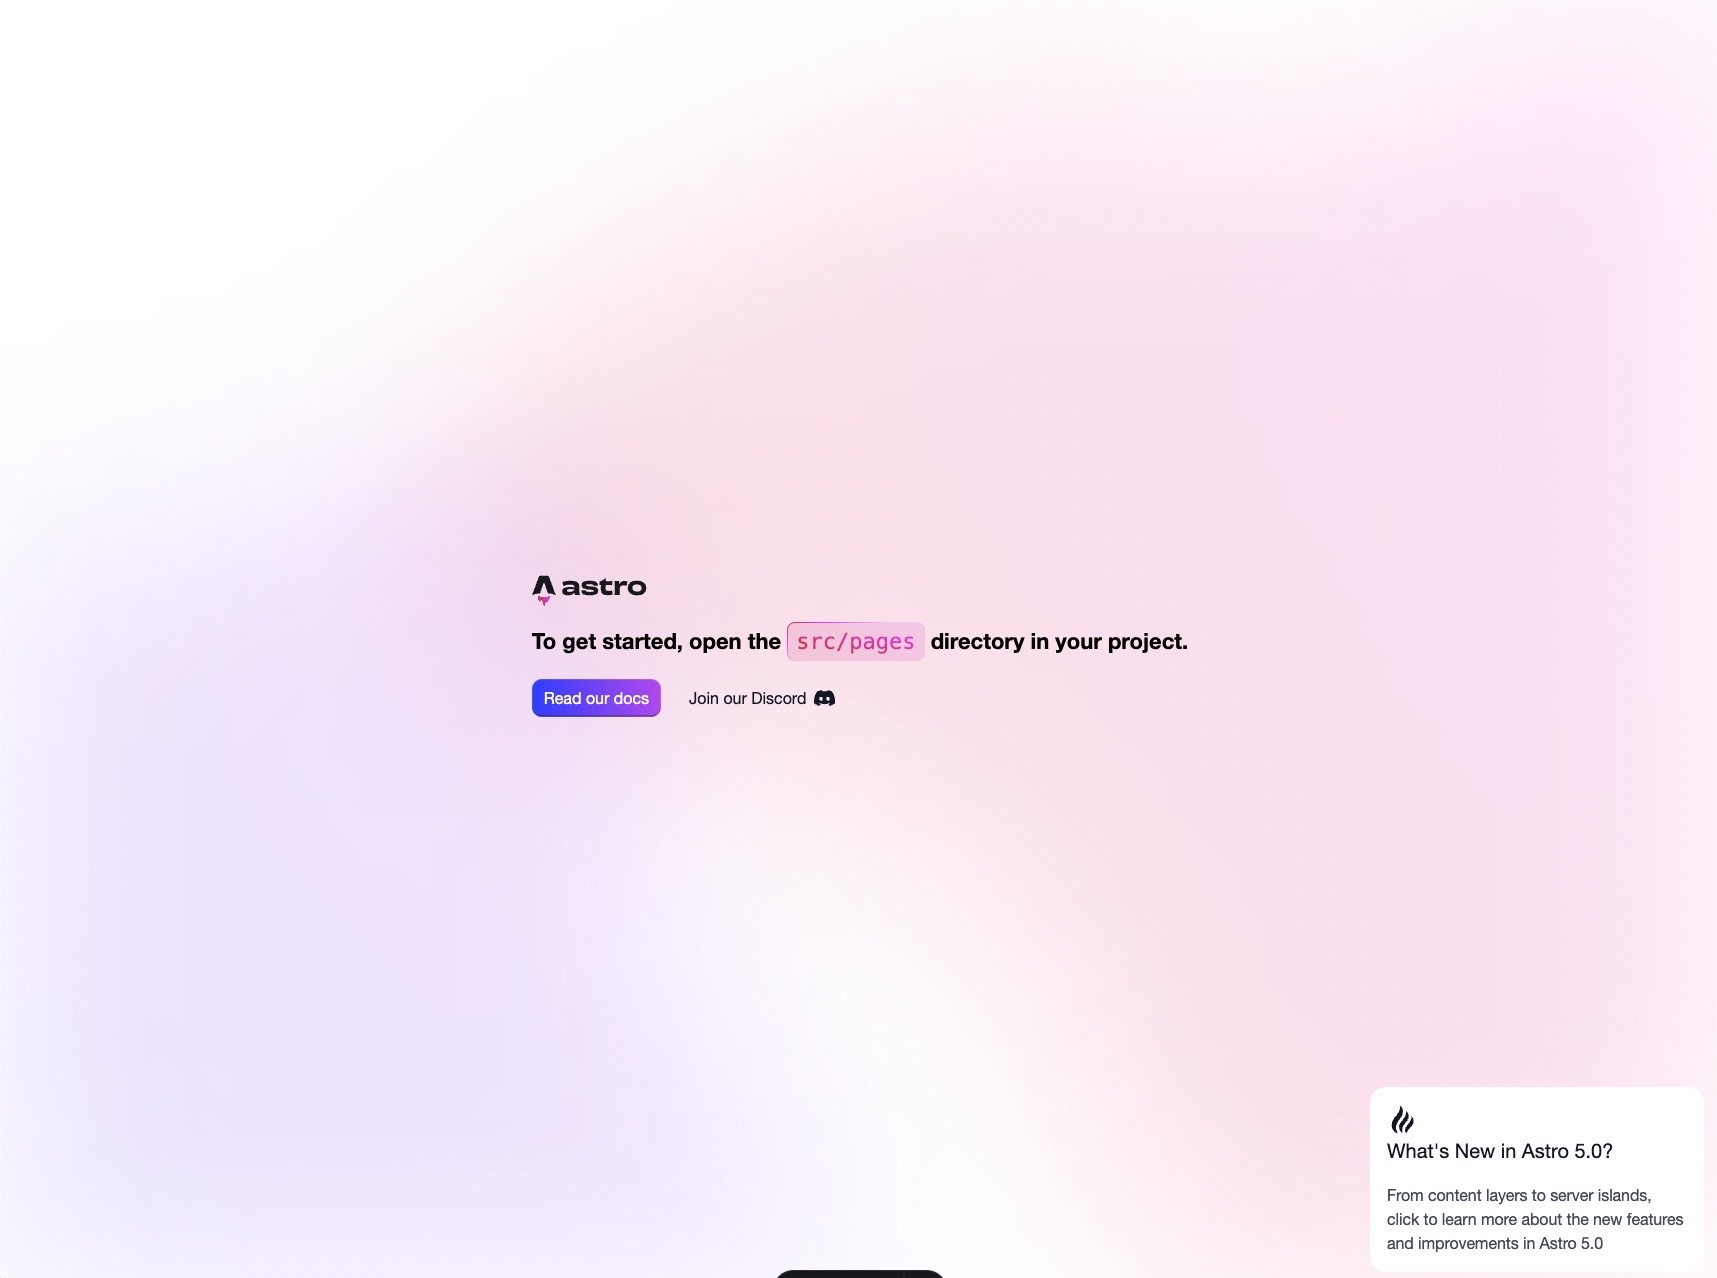
ブラウザでhttp://localhost:4321にアクセスして、Astroのデフォルトページが表示されることを確認してください。

Reactの追加
まずは先ほど作成したプロジェクトのディレクトリに移動します。
cd アプリの名前
次に、Astro CLIを使用してReactをプロジェクトに追加します。
pnpm dlx astro add react
インストール時に表示されるすべての質問にYesと回答してください。
Tailwind CSSの追加
次に、Tailwind CSSをプロジェクトに追加します。
pnpm dlx astro add tailwind
インストール時に表示されるすべての質問に「Yes」と回答してください。
グローバルスタイルのインポート
src/layouts/Layouts.astroファイルに、先ほど作成したglobals.cssファイルをインポートします。
+ ---
+ import '@/styles/global.css';
+ ---

<!doctype html>
<html lang="en">
	<head>
		<meta charset="UTF-8" />
		<meta name="viewport" content="width=device-width" />
		<link rel="icon" type="image/svg+xml" href="/favicon.svg" />
		<meta name="generator" content={Astro.generator} />
		<title>Astro Basics</title>
	</head>
	<body>
		<slot />
	</body>
</html>

<style>
	html,
	body {
		margin: 0;
		width: 100%;
		height: 100%;
	}
</style>
astro.config.mjsの更新
Tailwindの基本スタイルが二重に適用されないように、astro.config.mjsファイルを更新します。
TailwindプラグインのapplyBaseStylesオプションをfalseに設定します。
// @ts-check
import { defineConfig } from 'astro/config';
import tailwindcss from '@tailwindcss/vite';
import react from '@astrojs/react';

// https://astro.build/config
export default defineConfig({
  vite: {
    plugins: [
      tailwindcss(
+       {
+         applyBaseStyles: false,
+       }
      ),
    ],
  },
  integrations: [react()]
});
tsconfig.jsonの編集
tsconfig.jsonファイルに以下のコードを追加し、パスを解決できるようにします。
{
  "extends": "astro/tsconfigs/strict",
  "include": [
    ".astro/types.d.ts",
    "**/*"
  ],
  "exclude": [
    "dist"
  ],
  "compilerOptions": {
    "jsx": "react-jsx",
    "jsxImportSource": "react",
+   "baseUrl": ".",
+   "paths": {
+     "@/*": [
+       "./src/*"
+     ]
    }
  }
}
shadcn/uiの初期設定
次に、shadcn/uiをプロジェクトに設定します。CLIを使用して初期設定を行います。
pnpm dlx shadcn@canary init
初期設定時に表示されるすべての質問にYesと回答してください。
テーマカラーを選択する質問が表示されるので、好きな色を選択してください。
色は下記のページで確認できます。
コンポーネントの追加
shadcn/uiからコンポーネントを追加します。
例えば、ボタンコンポーネントを追加するには、以下のコマンドを実行します。
pnpm dlx shadcn@latest add button
このコマンドでボタンコンポーネントがプロジェクトに追加されます。
コンポーネントの使用
追加したボタンコンポーネントを使用するには、以下のようにインポートします。
---
- import Welcome from '../components/Welcome.astro';
+ import { Button } from "@/components/ui/button"
import Layout from '../layouts/Layout.astro';

// Welcome to Astro! Wondering what to do next? Check out the Astro documentation at https://docs.astro.build
// Don't want to use any of this? Delete everything in this file, the `assets`, `components`, and `layouts` directories, and start fresh.
---

<Layout>
-	<Welcome />
+	<Button variant="outline">shadcn/ui Button</Button>
</Layout>
プロジェクトの起動
以下のコマンドでプロジェクトを起動します。

