


目次
Starlightはドキュメントサイト用のテンプレートですが、プラグインを追加することでブログを導入することもできます。
この記事では、AstroのStarlightテンプレートにブログ機能を追加する方法を紹介します。
Starlightプロジェクトの作成
Starlightでプロジェクトを作成していない方は、下記の記事を参考に作成してください。
ブログを導入する
ブログを導入するには、以下の手順に従ってください。
- 以下のコマンドをプロジェクトのルートで実行して、ブログを追加します。
pnpm:
pnpm add starlight-blog
npm:
npm i starlight-blog
yarn:
yarn add starlight-blog
- プラグインを追加するために、設定ファイル
astro.config.mjsに以下のコードを追加します。
astro.config.mjs
import starlight from '@astrojs/starlight'
import { defineConfig } from 'astro/config'
import starlightBlog from 'starlight-blog'

export default defineConfig({
    integrations: [
        starlight({
            plugins: [starlightBlog()],
            title: 'My Docs',
        }),
    ],
})
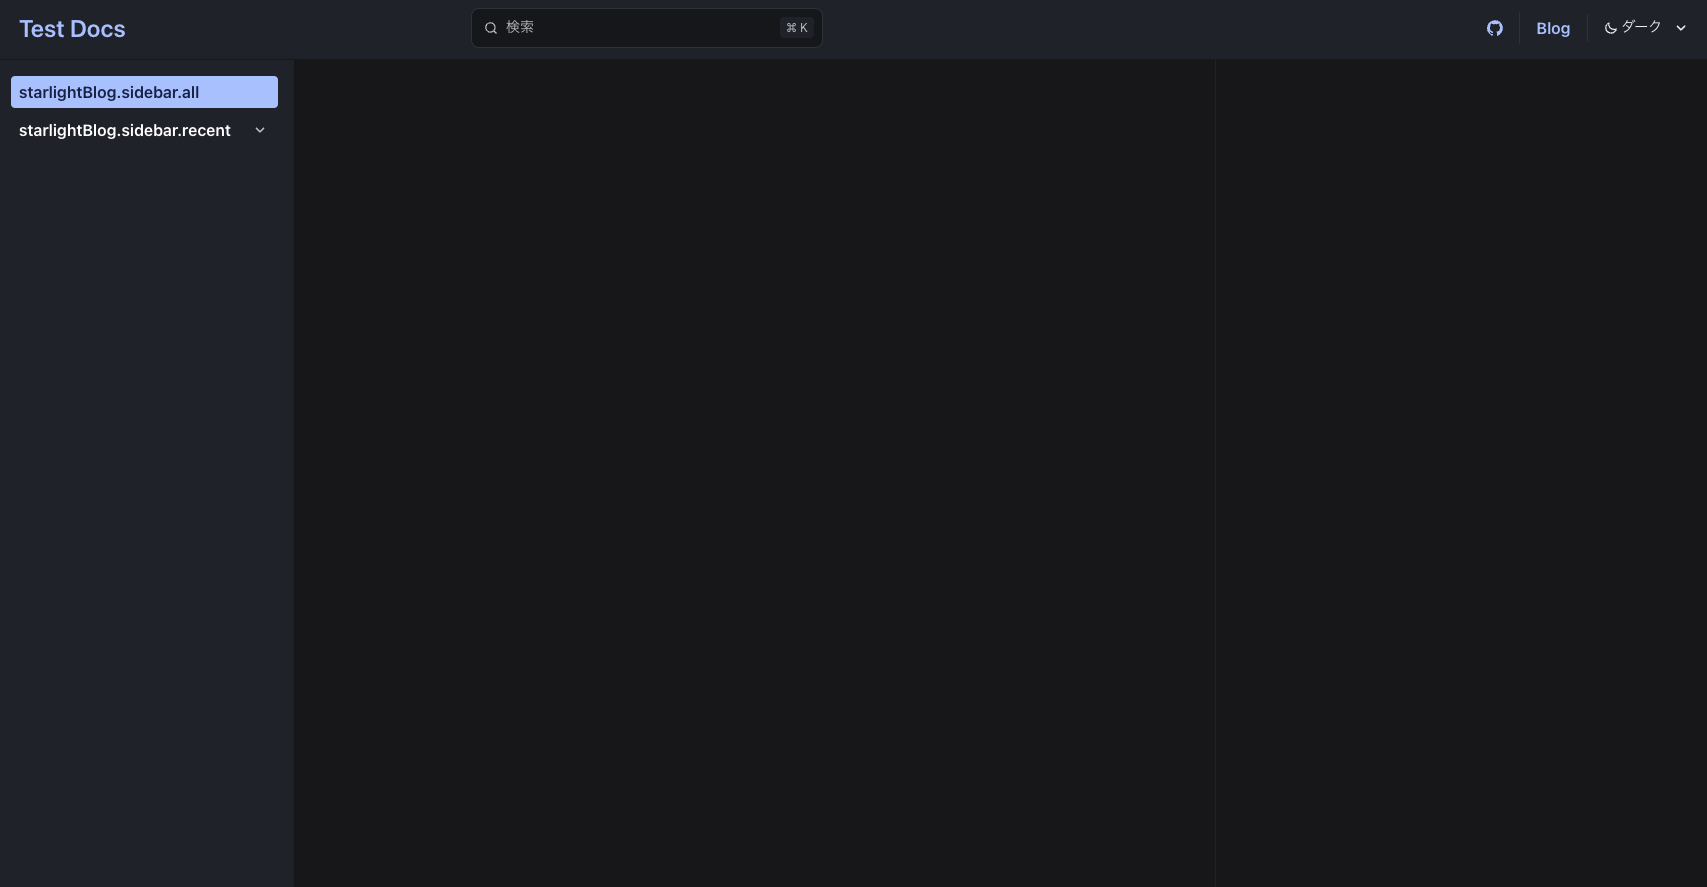
- 右上にBlogのリンクが追加されているのでクリックしてブログを確認します。
- ブログページが表示されます。
ブログ記事を追加する
ブログページができたので、実際にブログ記事を追加してみましょう。
- まず、ブログ記事を追加するためのスキーマを作成します。
src/content.config.tsに以下のコードを追加します。
src/content.config.ts
import { defineCollection } from 'astro:content';
import { docsLoader } from '@astrojs/starlight/loaders';
import { docsSchema } from '@astrojs/starlight/schema';
import { blogSchema } from 'starlight-blog/schema';

export const collections = {
    docs: defineCollection({
        loader: docsLoader(),
        schema: docsSchema(
            {
                extend: (context) => blogSchema(context)
            }
        )
    }),
};
- ブログ記事を追加するための、
src/content/docs/blog/ディレクトリを作成します。
bash/zsh:
bash/zsh
mkdir -p src/content/docs/blog
PowerShell:
PowerShell
New-Item -Path src/content/docs/blog -ItemType Directory
- ブログ記事を追加するには、
src/content/docs/blog/ディレクトリにmdまたはmdxファイルを作成します。
bash/zsh:
bash/zsh
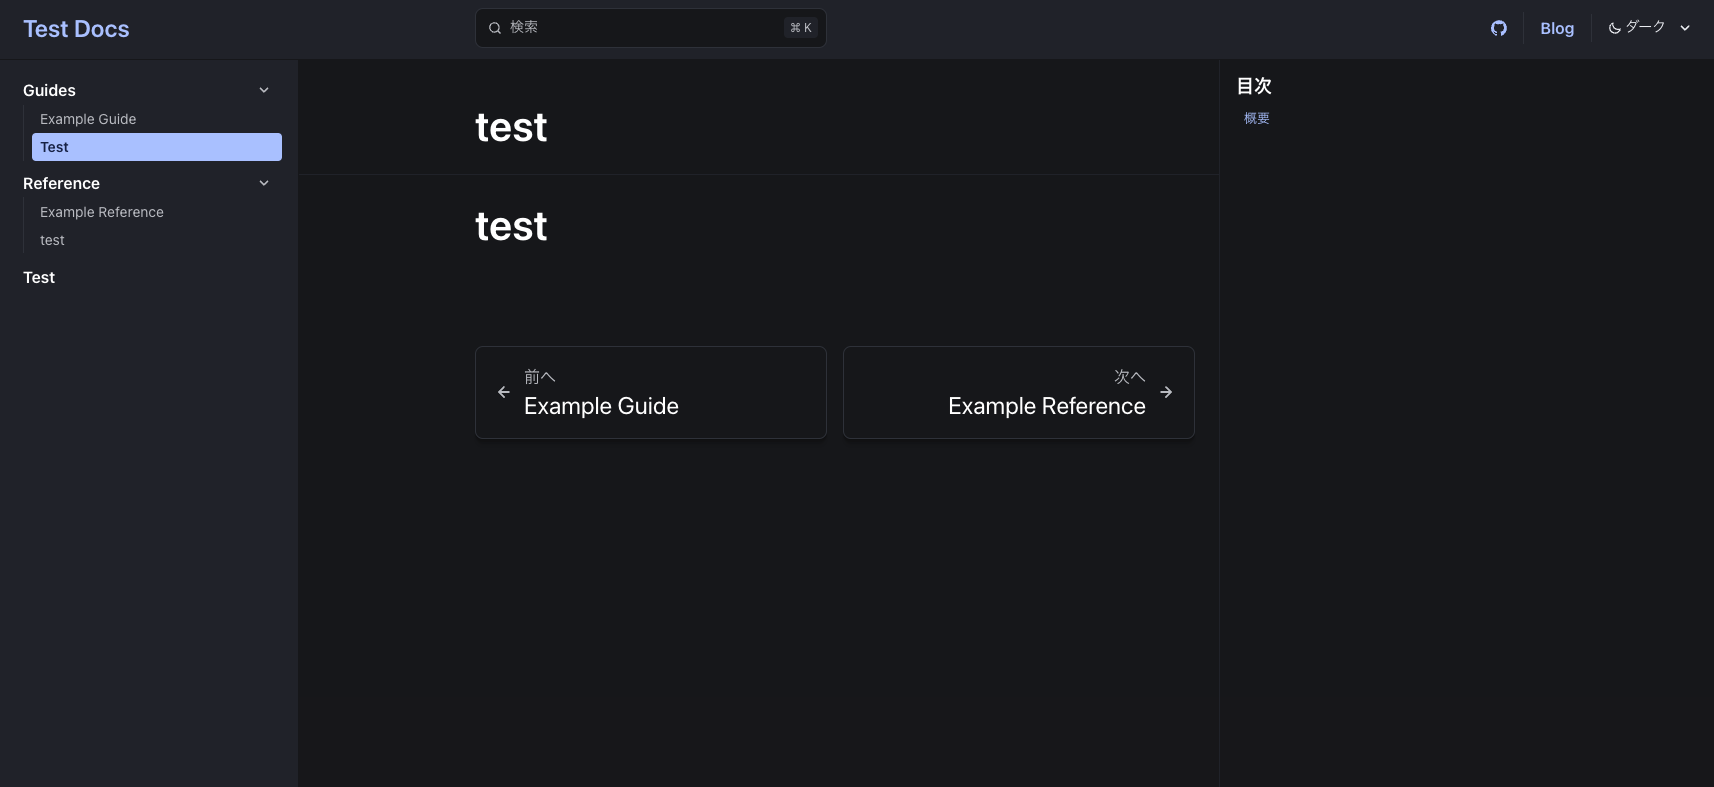
touch src/content/docs/blog/test.mdx
PowerShell:
PowerShell
NewItem src/content/docs/blog/test.mdx
        ```

4. 以下のコードを`src/content/docs/blog/test.mdx`に追加します。

```mdx:src/content/docs/blog/test.mdx
---
title: Test
date: 2025-03-10
---

## Test

Test
titleとdateは必須です。
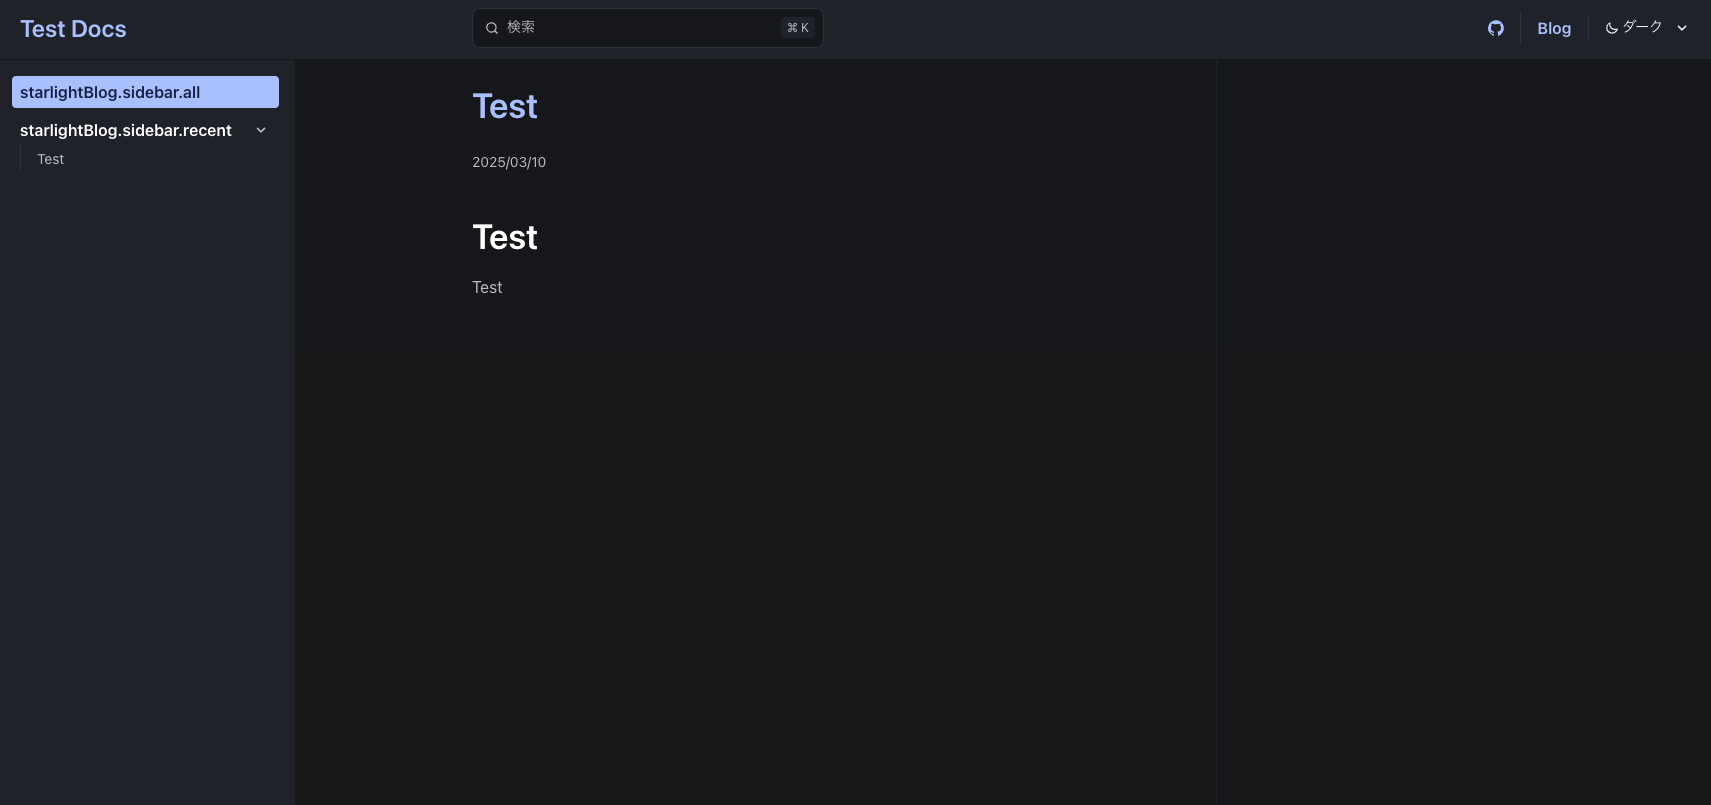
- コマンドを実行して、ブログを確認します。
pnpm:
pnpm dev
npm:
npm run dev
yarn:
yarn dev
localhost:4321/blog/を表示し、ブログ記事が表示されていることを確認します。
タグを追加する
ブログ記事にタグを追加することができます。
markdownファイルにtagsを追加することで、タグを追加できます。
src/content/docs/blog/test.mdx
---
title: test
date: 2025-03-10
tags: [test, astro]
---

## test

Test
これで、testとastroのタグが追加されます。
日本語対応する
BlogプラグインのデフォルトUIに日本語が未対応なので、日本語対応を行います。
src/content.config.tsに以下のコードを追加します。
src/content.config.ts
import { defineCollection } from 'astro:content';
import { docsLoader, i18nLoader } from '@astrojs/starlight/loaders';
import { docsSchema, i18nSchema } from '@astrojs/starlight/schema';
import { blogSchema } from 'starlight-blog/schema';

export const collections = {
    docs: defineCollection({
        loader: docsLoader(),
        schema: docsSchema(
            {
                extend: (context) => blogSchema(context)
            }
        )
    }),
    i18n: defineCollection({
        loader: i18nLoader(),
        schema: i18nSchema()
    }),
};
src/content/i18n/ディレクトリを作成します。
bash/zsh:
bash/zsh
mkdir -p src/content/i18n
PowerShell:
PowerShell
New-Item -Path src/content/i18n -ItemType Directory
src/content/i18n/ディレクトリにja.jsonファイルを作成します。
bash/zsh:
ja.json
touch src/content/i18n/ja.json
PowerShell:
ja.json
NewItem src/content/i18n/ja.json
- 以下のコードを
src/content/i18n/ja.jsonに追加します。
src/content/i18n/ja.json
{
"starlightBlog.authors.count_one": "{{author}}の投稿: {{count}} 件",
"starlightBlog.authors.count_other": "{{author}}の投稿: {{count}} 件",
"starlightBlog.pagination.prev": "新しい投稿",
"starlightBlog.pagination.next": "古い投稿",
"starlightBlog.post.lastUpdate": " - 最終更新日: {{date}}",
"starlightBlog.post.draft": "下書き",
"starlightBlog.post.featured": "おすすめ",
"starlightBlog.post.tags": "タグ:",
"starlightBlog.sidebar.all": "すべての投稿",
"starlightBlog.sidebar.featured": "おすすめの投稿",
"starlightBlog.sidebar.recent": "最新の投稿",
"starlightBlog.sidebar.tags": "タグ",
"starlightBlog.sidebar.authors": "著者",
"starlightBlog.sidebar.rss": "RSS",
"starlightBlog.tags.count_one": "“{{tag}}” の投稿: {{count}} 件",
"starlightBlog.tags.count_other": "{{tag}}” の投稿: {{count}} 件"
}
```
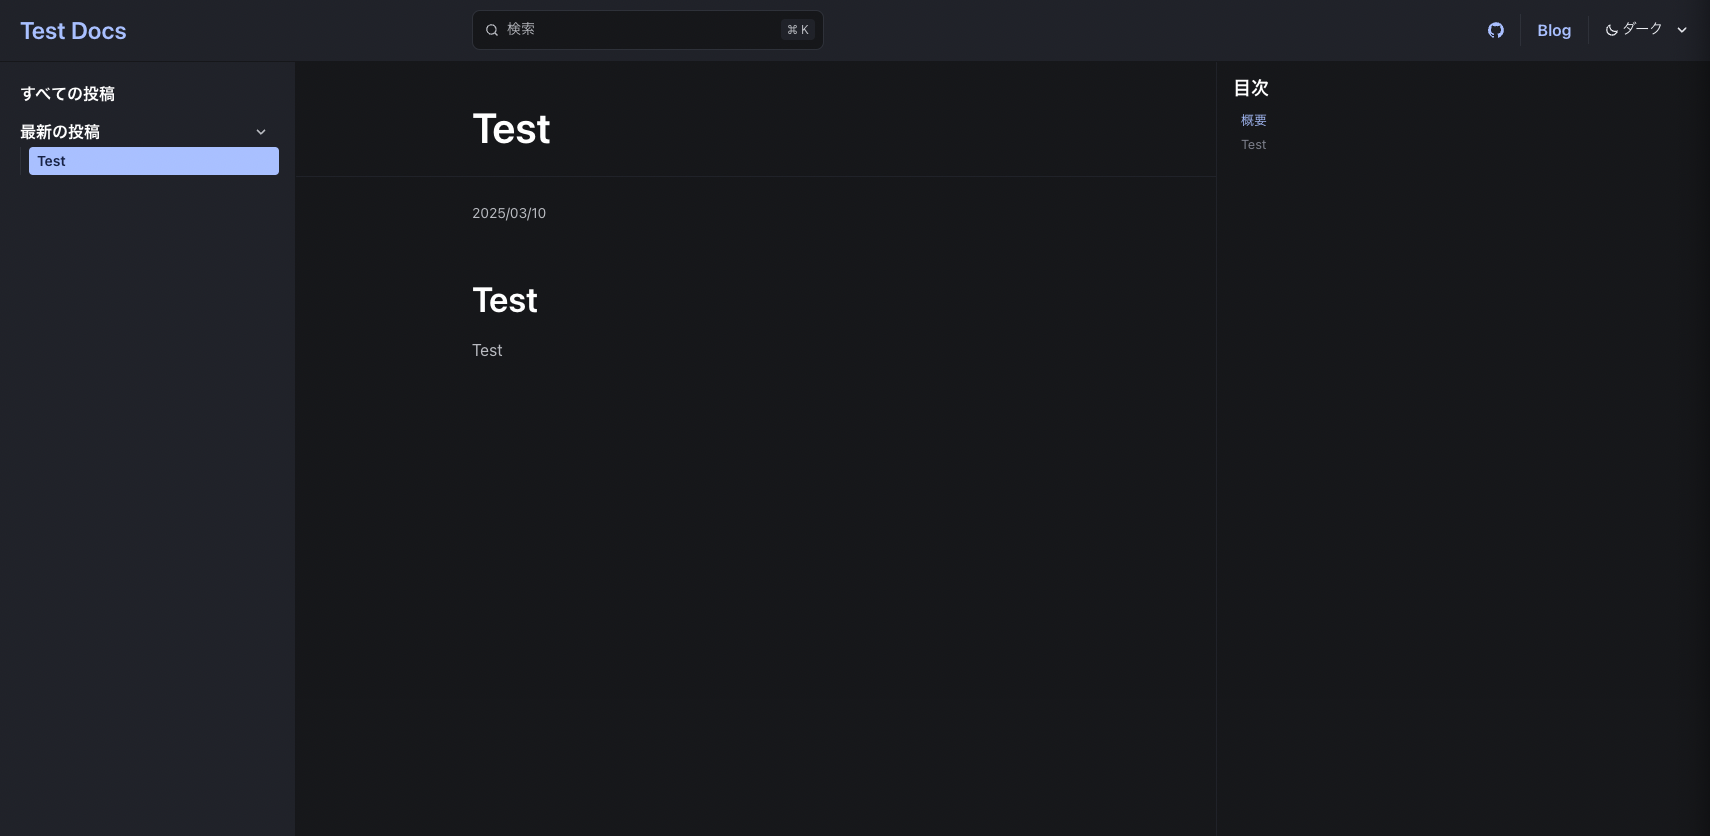
5. コマンドを実行して、ブログを確認します。
**pnpm:**
```shell
pnpm dev
npm:
npm run dev
yarn:
yarn dev
localhost:4321/blog/を表示し、UIが日本語になっていることを確認します。
これで最低限日本語対応したブログを運営できるかと思います。
細かいカスタマイズは、Starlightのドキュメントを参考にしてください。