


目次
Astroでドキュメントサイトを作るのにStarlightというテンプレートを使ってみたので、備忘録として残します。
サクッと日本語のドキュメントサイトをMarkdownで作りたい場合は、Starlightがおすすめです。
Astro/Starlightのインストール
まずは、Starlightを使ってプロジェクトを作成します。
- 以下のコマンドを実行して、Starlightを使ったプロジェクトを作成します(プロジェクト名は適宜お好きなものを入れてください)。
pnpm:
pnpm create astro プロジェクト名 --yes --template starlight
npm:
npm create astro@latest プロジェクト名 --yes --template starlight
yarn:
yarn create astro プロジェクト名 --yes --template starlight
- 以下のようなメッセージが表示されたら、プロジェクトの作成が完了です。
✔  Project initialized!
■ Template copied
■ Dependencies installed
■ Git initialized

next   Liftoff confirmed. Explore your project!

Enter your project directory using cd ./プロジェクト名
Run pnpm dev to start the dev server. CTRL+C to stop.
Add frameworks like react or tailwind using astro add.

Stuck? Join us at https://astro.build/chat

╭─────╮  Houston:
│ ◠ ◡ ◠  Good luck out there, astronaut! 🚀
╰─────╯
- インストールが完了したら、プロジェクトディレクトリに移動します(適宜自分が作成したプロジェクト名に修正してください)。
cd プロジェクト名
- ローカルサーバーを起動します。
pnpm:
pnpm dev
npm:
npm run dev
yarn:
yarn dev
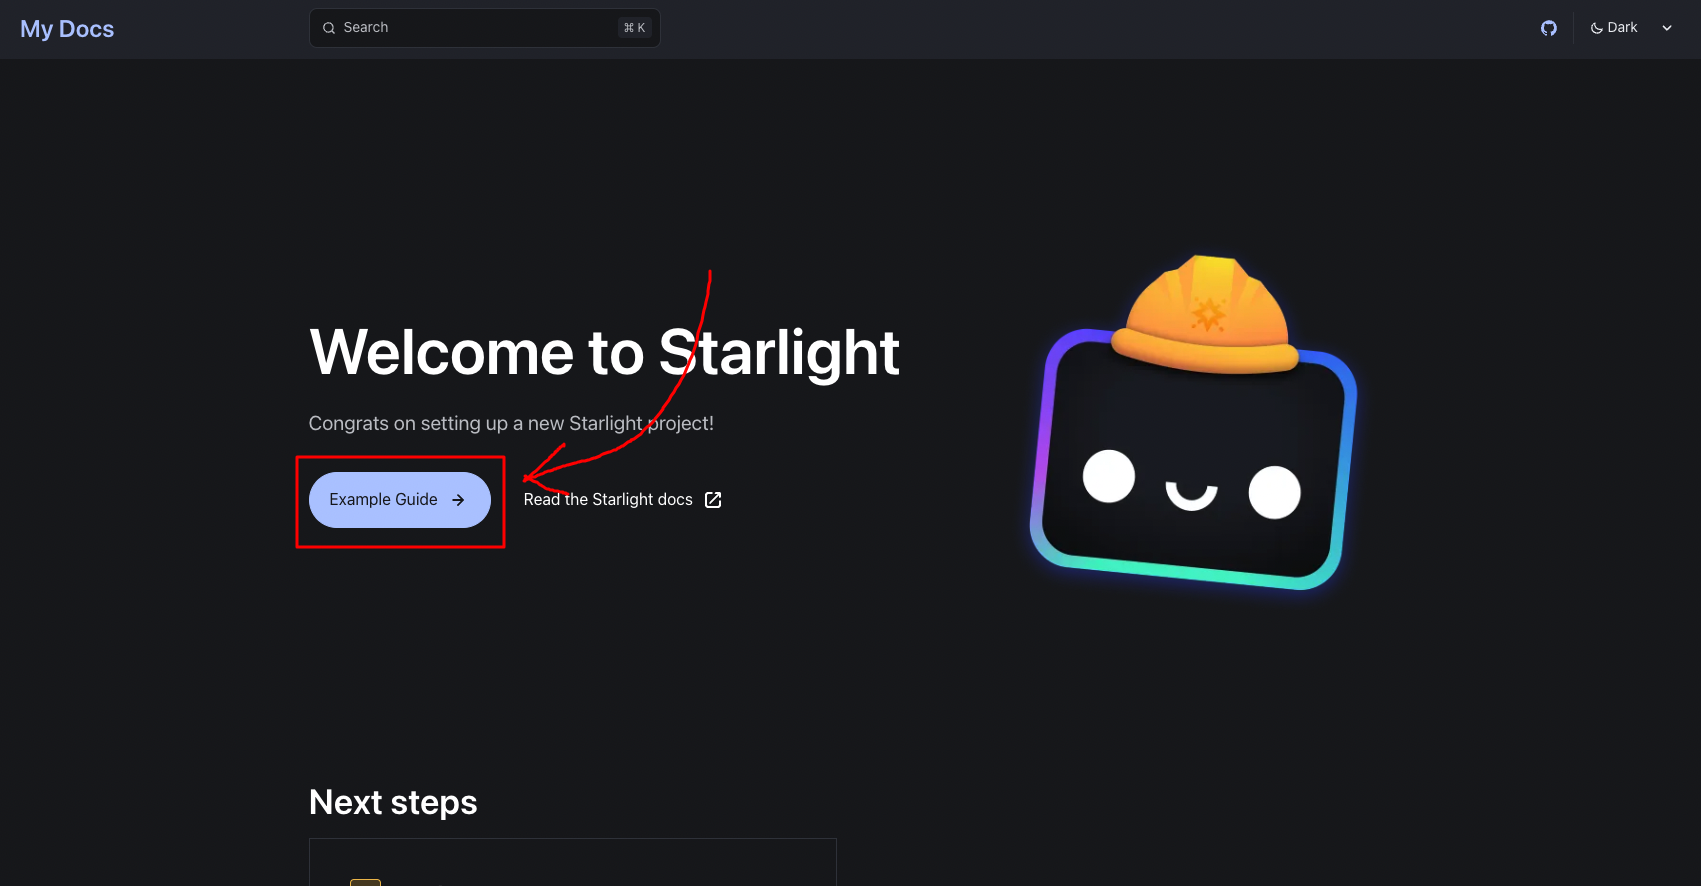
- ブラウザで http://localhost:4321 にアクセスして、トップページを確認します。
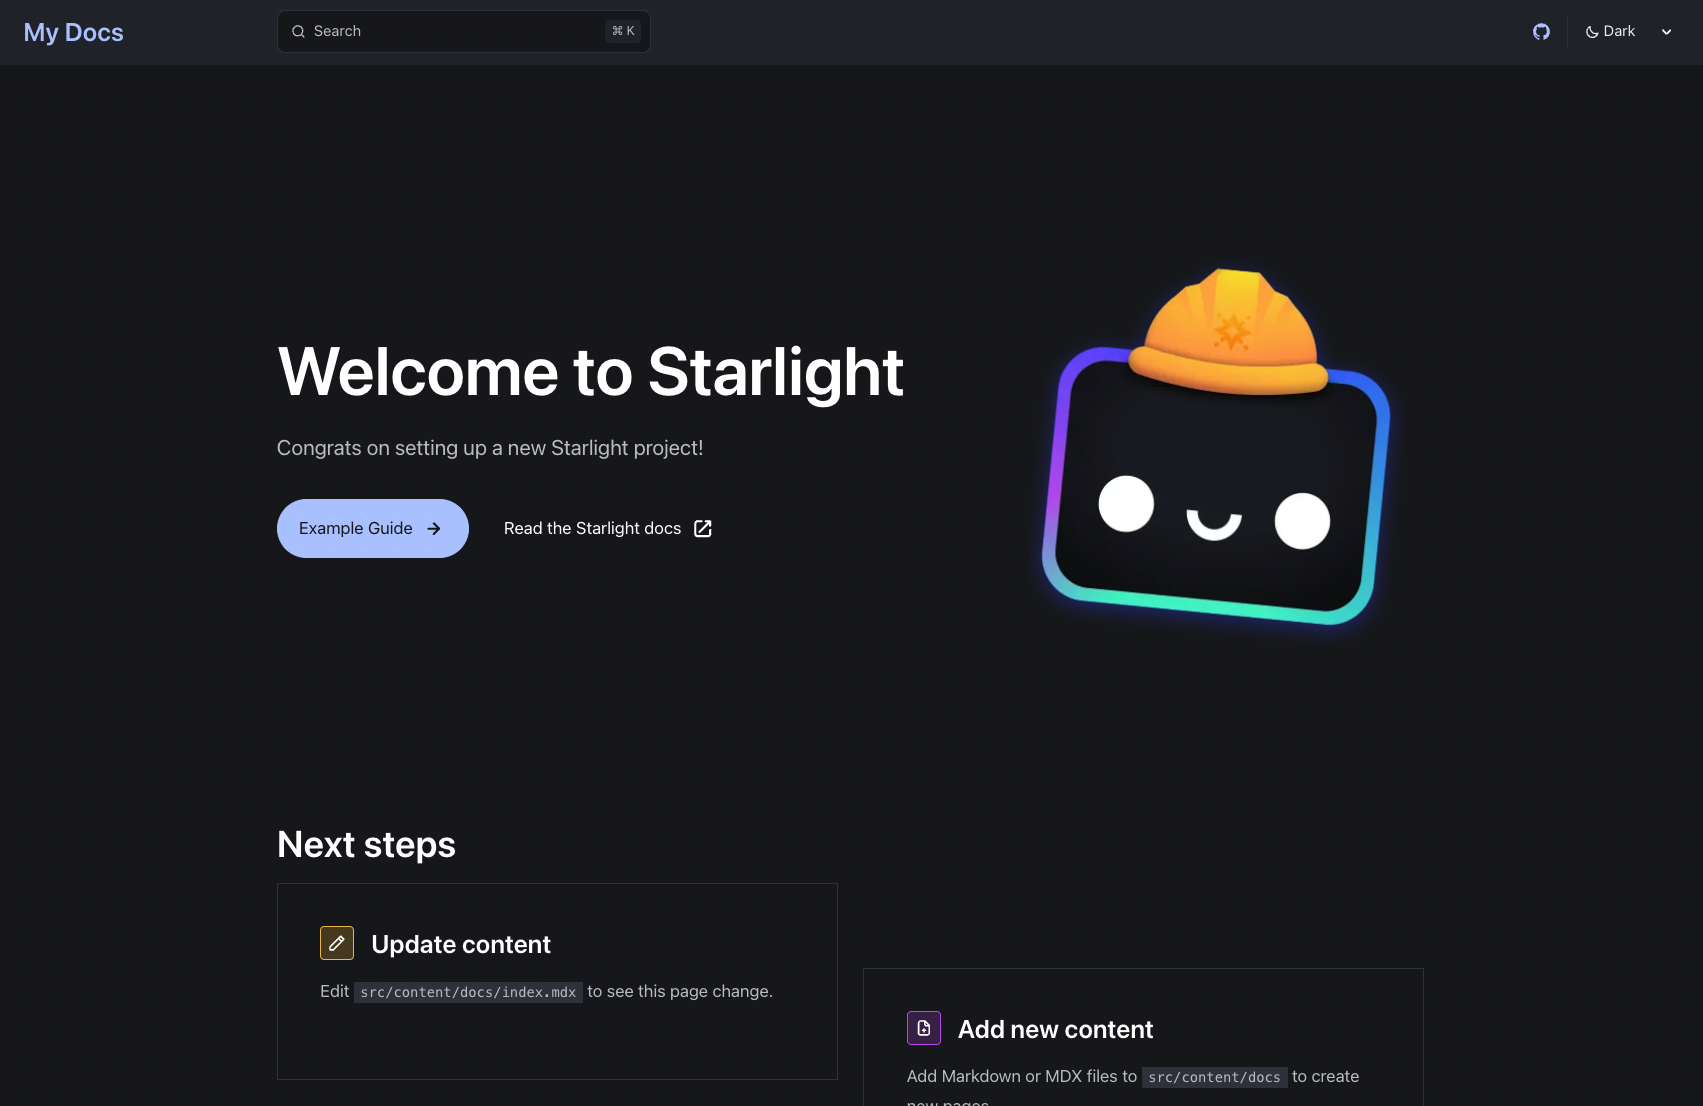
- 「Example Guide」ボタンをクリックすると、ドキュメントページに遷移します。
これで、AstroのテンプレートStarlightを使ってドキュメントサイトを作成することができました。
ドキュメントを追加する
サイトは作成できましたが、ドキュメントがまだありません。
ドキュメントを追加するには、src/content/docs/ディレクトリにmdまたはmdxファイルを作成します。
- プロジェクトのディレクトリで以下のコマンドを実行して、ドキュメントを追加します。
bash/zsh:
touch src/content/docs/test.md
PowerShell:
New-File src/content/docs/test.mdx
- 作成した
mdxファイルに以下の内容を記述します。
# src/content/docs/test.mdx
---
title: test
---
# test
- ローカルサーバーを起動します。
pnpm:
pnpm dev
npm:
npm run dev
yarn:
yarn dev
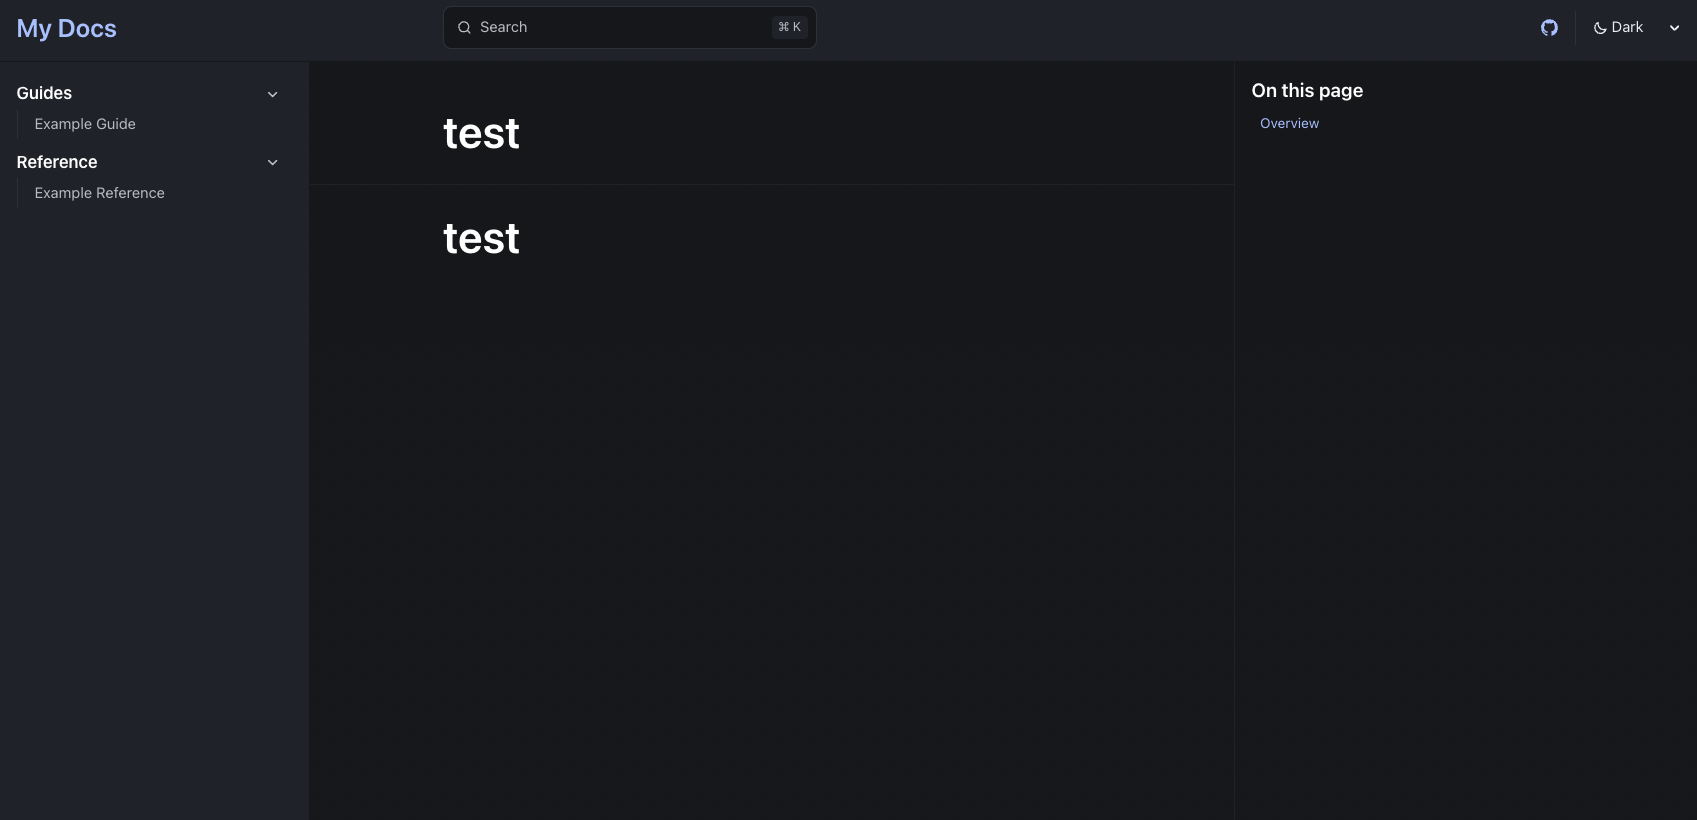
- ブラウザで
http://localhost:4321/testにアクセスして、ドキュメントが表示されることを確認します。
サイドバーにドキュメントを追加する
今のままだと、直接URLを入力しないとドキュメントにアクセスできません。
サイドバーにドキュメントのリンクを追加して、アクセスしやすくします。
src/astro.config.mjsファイルを開いて、以下のようにsidebarを追加します。
// @ts-check
import { defineConfig } from 'astro/config';
import starlight from '@astrojs/starlight';

// https://astro.build/config
export default defineConfig({
    integrations: [
        starlight({
            title: 'My Docs',
            social: {
                github: 'https://github.com/withastro/starlight',
            },
            sidebar: [
                {
                    label: 'Guides',
                    items: [
                        // Each item here is one entry in the navigation menu.
                        { label: 'Example Guide', slug: 'guides/example' },
                    ],
                },
                {
                    label: 'Reference',
                    autogenerate: { directory: 'reference' },
                },
                {
                    label: 'Test', link: '/test/'
                },
            ],
        }),
    ],
});
- ローカルサーバーを再起動します。
pnpm:
pnpm dev
npm:
npm run dev
yarn:
yarn dev
- ブラウザで http://localhost:4321 にアクセスし、「Example Guide」ボタンをクリックしてサイドバーにドキュメントが追加されていることを確認します。
これで、サイドバーにドキュメントを追加することができました。
サイドバーにサブメニューを追加する
今のままだとサイドバーにドキュメントのリンクを追加することはできますが、ドキュメントサイトによくある分類されたサブメニューを追加することはできません。
既にサイドバーでサブメニューが使われているGuidesとReferenceを見てみましょう。
直接記述して生成する
まずは、直接記述してサブメニューを生成します。
Guidesのサブメニューをみてみましょう。
// @ts-check

// https://astro.build/config
export default defineConfig({
    integrations: [
        starlight({
            title: 'My Docs',
            social: {
                github: 'https://github.com/withastro/starlight',
            },
            sidebar: [
                {
                    label: 'Guides',
                    items: [
                        // Each item here is one entry in the navigation menu.
                        { label: 'Example Guide', slug: 'guides/example' },
                    ],
                },
                {
                    label: 'Reference',
                    autogenerate: { directory: 'reference' },
                },
                {
                    label: 'Test', link: '/test/'
                },
            ],
        }),
    ],
});
sidebarの中にGuidesというラベルがあり、その中にitemsという配列があります。itemsの中には、サブメニューの項目が入っています。
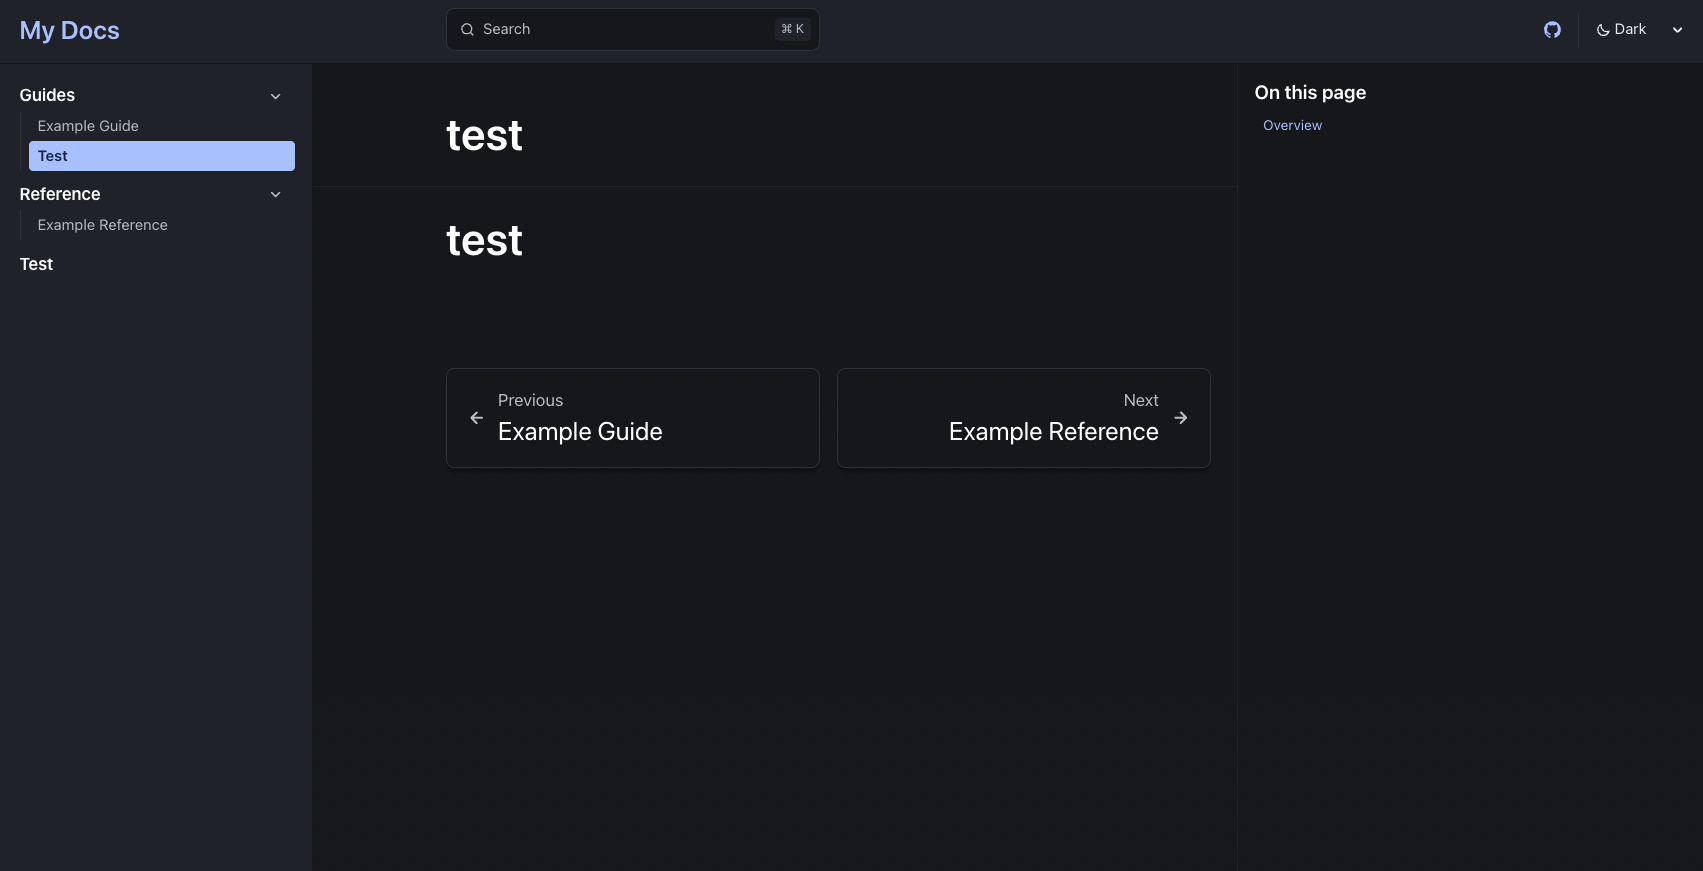
Guidesのサブメニューに新しい項目を追加するには、itemsの中に新しい項目を追加します。
実際にtest.mdのリンクを追加してみましょう。
// @ts-check

// https://astro.build/config
export default defineConfig({
    integrations: [
        starlight({
            title: 'My Docs',
            social: {
                github: 'https://github.com/withastro/starlight',
            },
            sidebar: [
                {
                    label: 'Guides',
                    items: [
                        // Each item here is one entry in the navigation menu.
                        { label: 'Example Guide', slug: 'guides/example' },
                        { label: 'Test', slug: 'test' },
                    ],
                },
                {
                    label: 'Reference',
                    autogenerate: { directory: 'reference' },
                },
                {
                    label: 'Test', link: '/test/'
                },
            ],
        }),
    ],
});
slugには、src/content/docs/ディレクトリに作成したmdまたはmdxファイルの名前を指定します。(今回はtest.mdxなので、slugにはtestを指定します)
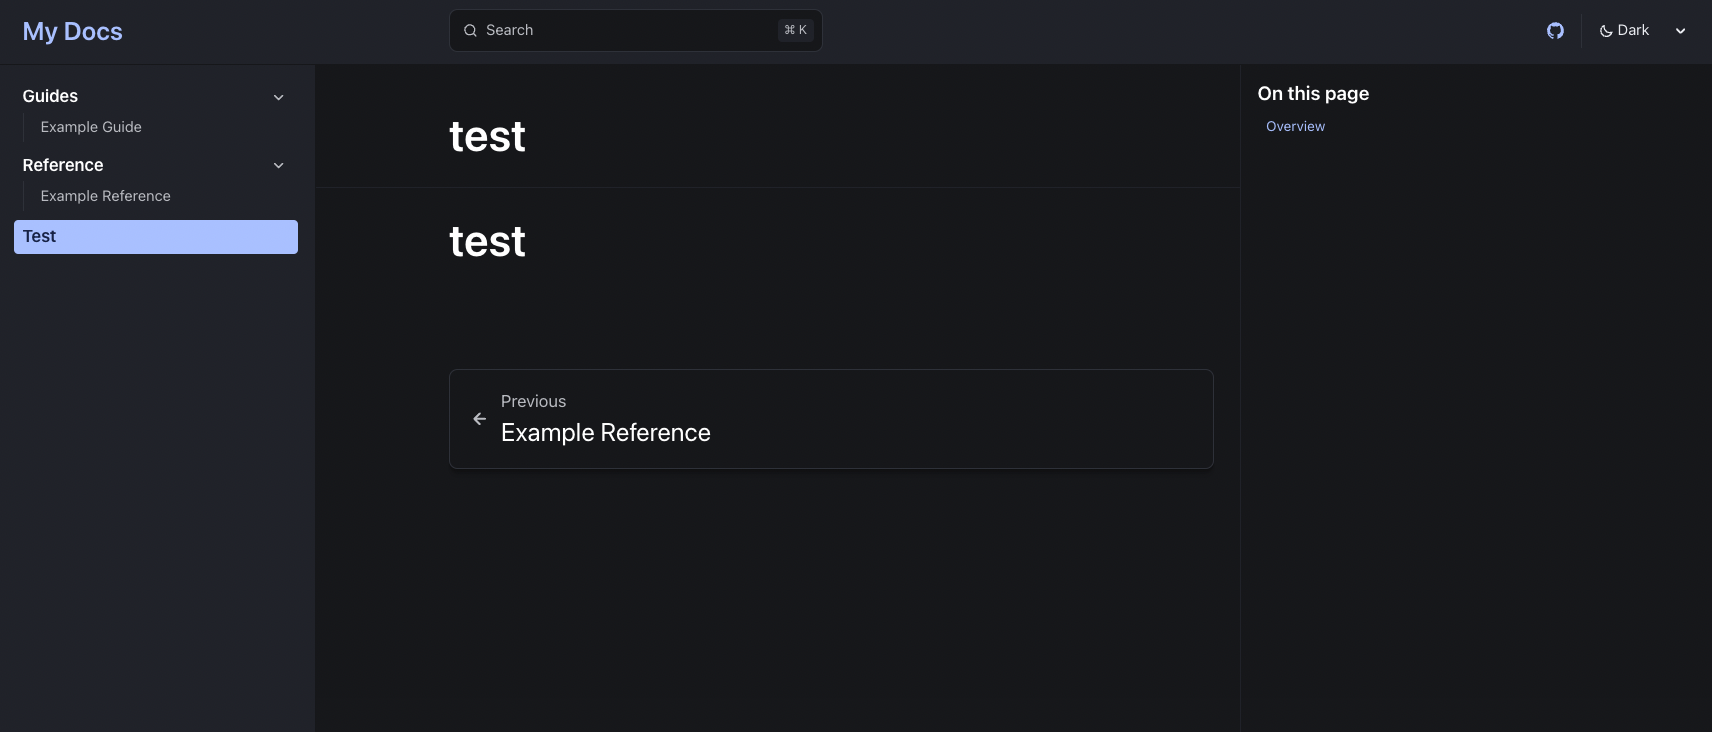
サーバーを起動して、サイドバーにサブメニューが追加されていることを確認します。
ディレクトリ構造から生成する
毎回astro.config.mjsに直接記述するのは面倒なので、ディレクトリ構造から自動生成する方法を紹介します。
Referenceのサブメニューをみてみましょう。
// @ts-check

// https://astro.build/config
export default defineConfig({
    integrations: [
        starlight({
            title: 'My Docs',
            social: {
                github: 'https://github.com/withastro/starlight',
            },
            sidebar: [
                {
                    label: 'Guides',
                    items: [
                        // Each item here is one entry in the navigation menu.
                        { label: 'Example Guide', slug: 'guides/example' },
                        { label: 'Test', slug: 'test' },
                    ],
                },
                {
                    label: 'Reference',
                    autogenerate: { directory: 'reference' },
                },
                {
                    label: 'Test', link: '/test/'
                },
            ],
        }),
    ],
});
Referenceのサブメニューはautogenerateというオブジェクトを使って自動生成されています。
autogenerateのdirectoryには、ドキュメントを配置するディレクトリを指定します。
Referenceのサブメニューを追加するには、src/content/reference/ディレクトリにmdまたはmdxファイルを作成します。
実際に先ほどのtest.mdxをコピーしてsrc/content/reference/test.mdxを作成してみましょう。
cp src/content/docs/test.mdx src/content/docs/reference/test.mdx
サーバーを起動して、サイドバーにサブメニューが追加されていることを確認します。
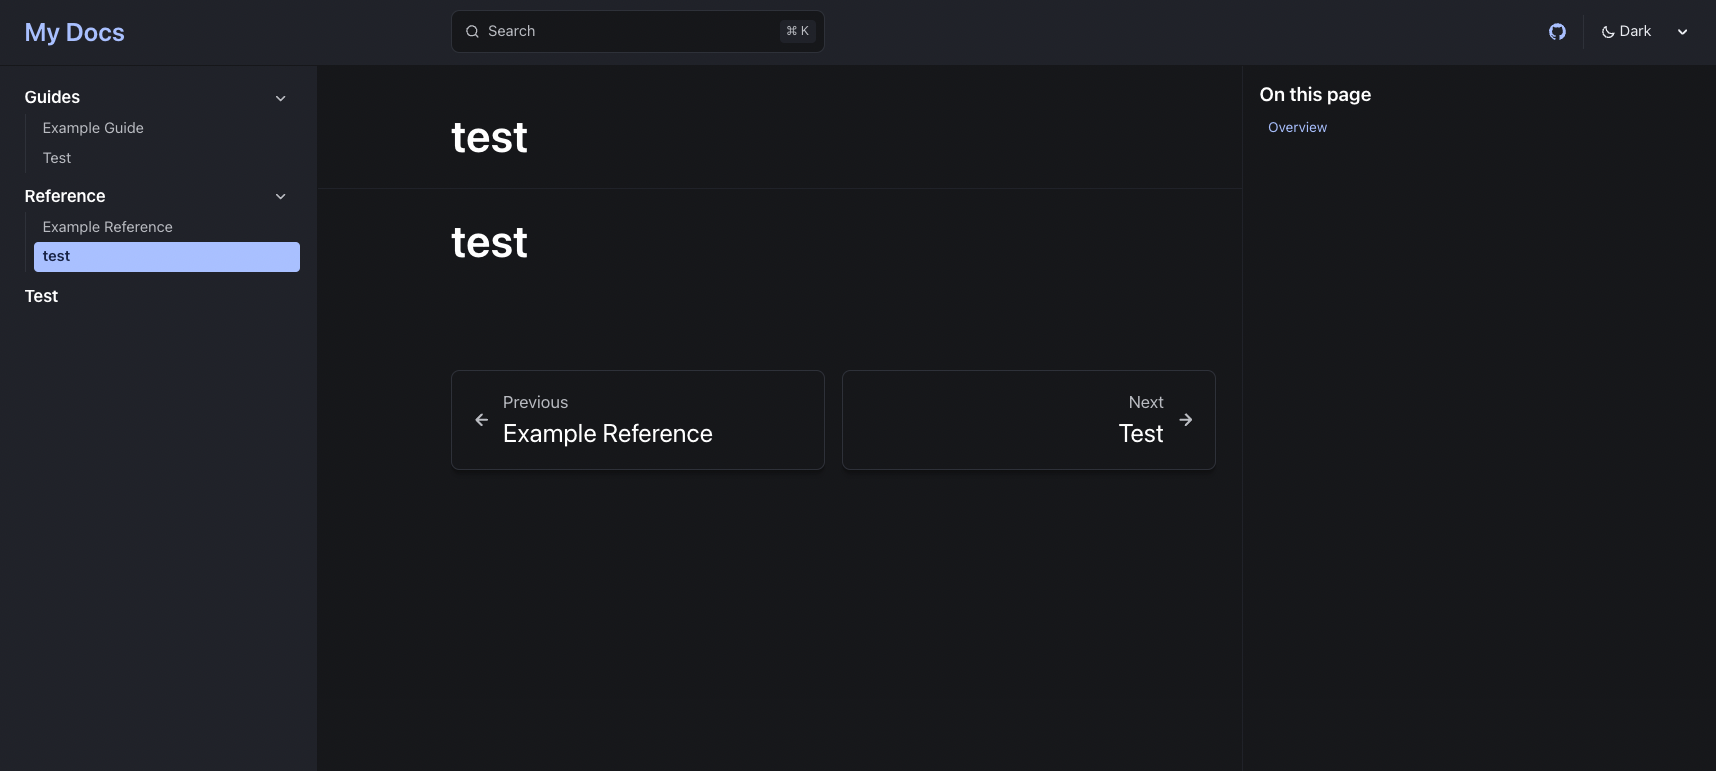
これで、サイドバーにサブメニューを追加することができました。
違う分類を追加したい場合は、同じようにディレクトリを作成しsidebarに追加すれば良いです。
一般的な用途では、ディレクトリ構造から自動生成する方法を使うと便利ですが、同じmdxを使いまわしたい場合は直接記述する方法を使うと良いかもしれません。
サイトタイトルを変更する
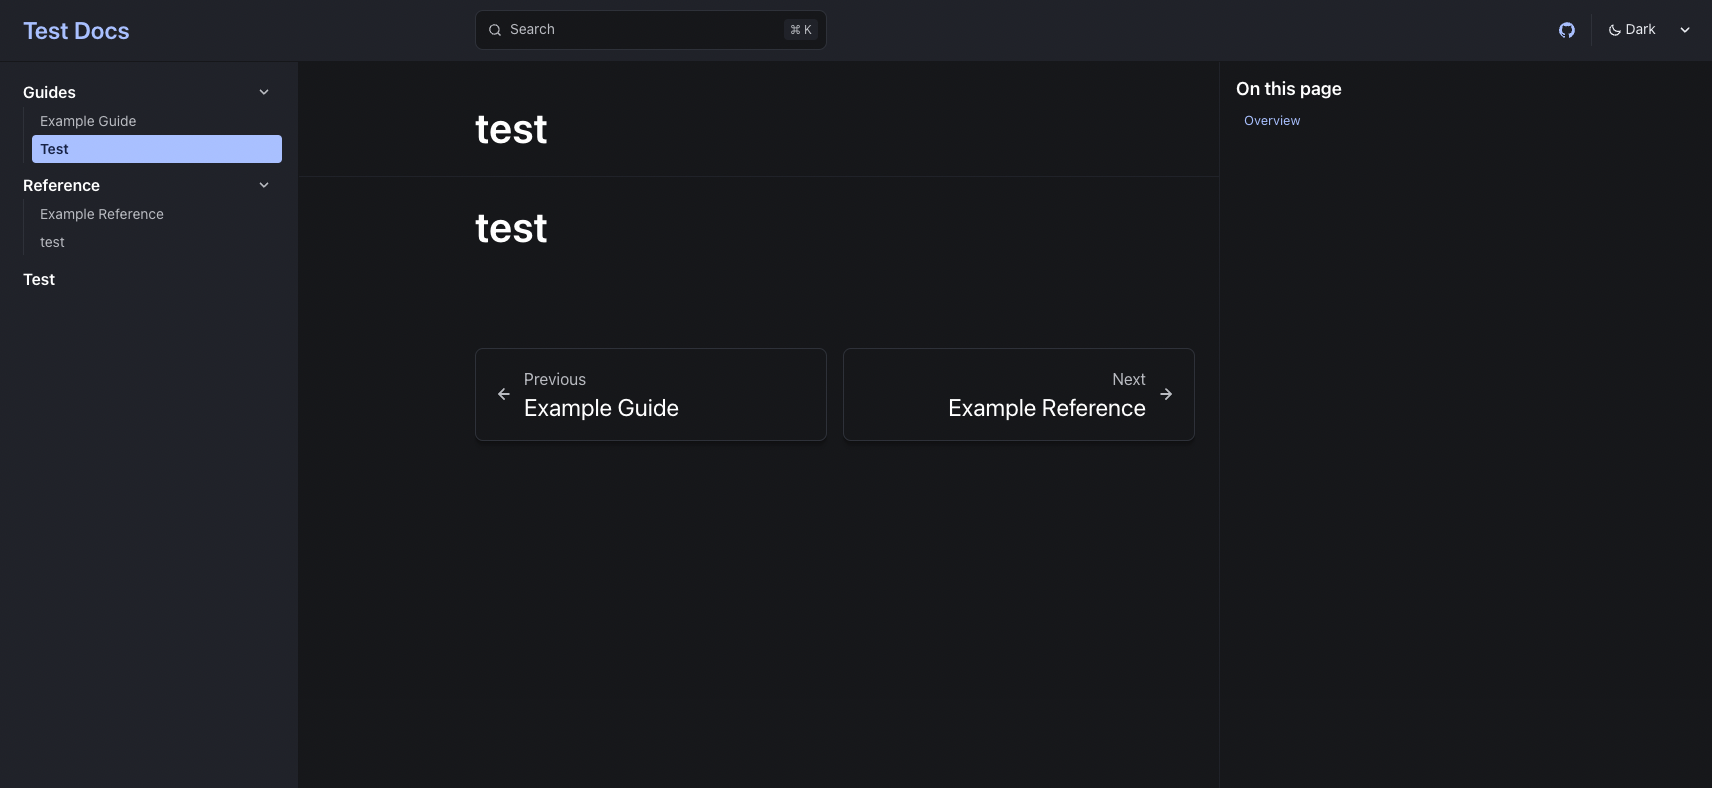
デフォルトでは、サイトのタイトルが「My Docs」になっています。
サイトタイトルを変更するには、src/astro.config.mjsファイルを開いて、titleを変更します。
// @ts-check

// https://astro.build/config
export default defineConfig({
    integrations: [
        starlight({
            title: 'Test Docs',
            social: {
                github: 'https://github.com/withastro/starlight',
            },
            sidebar: [
                {
                    label: 'Guides',
                    items: [
                        // Each item here is one entry in the navigation menu.
                        { label: 'Example Guide', slug: 'guides/example' },
                        { label: 'Test', slug: 'test' },
                    ],
                },
                {
                    label: 'Reference',
                    autogenerate: { directory: 'reference' },
                },
                {
                    label: 'Test', link: '/test/'
                },
            ],
        }),
    ],
});
titleには、サイトのタイトルを指定します。
サーバーを起動して、サイトタイトルが変更されていることを確認します。
トップページをドキュメントにする
簡易的なドキュメントサイトだとトップページがランディングページでなくても良い場合があります。
その場合は、src/content/docs/ディレクトリのindex.mdxファイルを修正します。
具体的には、下記の通り4行目のtemplate: splashを削除します。
---
title: Welcome to Starlight
description: Get started building your docs site with Starlight.
template: splash
hero:
tagline: Congrats on setting up a new Starlight project!
image:
file: ../../assets/houston.webp
actions:
- text: Example Guide
link: /guides/example/
icon: right-arrow
- text: Read the Starlight docs
link: https://starlight.astro.build
icon: external
variant: minimal
---

## Next steps

<CardGrid stagger>
<Card title="Update content" icon="pencil">
Edit `src/content/docs/index.mdx` to see this page change.
</Card>
<Card title="Add new content" icon="add-document">
Add Markdown or MDX files to `src/content/docs` to create new pages.
</Card>
<Card title="Configure your site" icon="setting">
Edit your `sidebar` and other config in `astro.config.mjs`.
</Card>
<Card title="Read the docs" icon="open-book">
Learn more in [the Starlight Docs](https://starlight.astro.build/).
</Card>
</CardGrid>
Starlightでは、template: splashを指定することでページからサイドバーを消すことができます。
トップページは上記を指定することで、ランディングページとして作成されています。
templeteを削除してデフォルトに戻すことで、トップページをドキュメントにすることができます(defaultはtemplate: docs)。
サーバーを起動して、トップページがドキュメントになっていることを確認します。
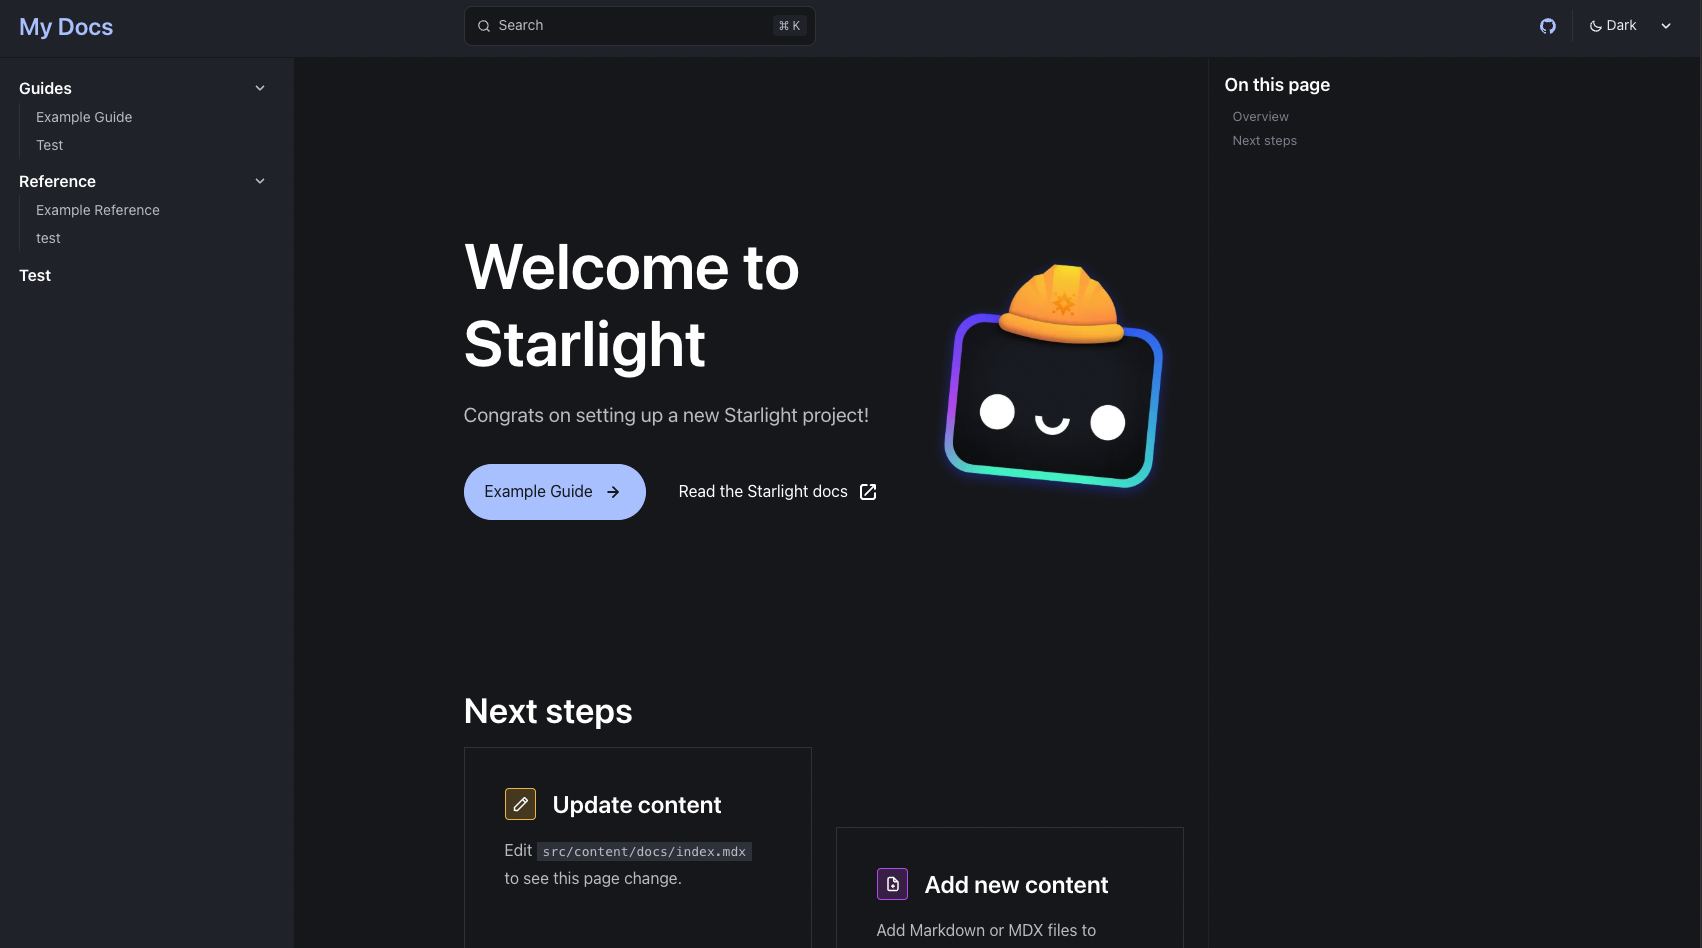
これで、トップページをドキュメントにすることができました。
日本語対応する
今のままだと検索バーやダークモードの切り替えなどが英語のままです。
使えはしますが、日本語でドキュメントサイトを作るなら日本語対応すると良いでしょう。
Starlightはデフォルトで日本語にも対応しています。
src/astro.config.mjsファイルを開いて、以下のようにlocalesを追加します。
// @ts-check

// https://astro.build/config
export default defineConfig({
    integrations: [
        starlight({
            title: 'My Docs',
            locales: {
                root: {
                    label: '日本語',
                    lang: 'ja',
                },
            },
            social: {
                github: 'https://github.com/withastro/starlight',
            },
            sidebar: [
                {
                    label: 'Guides',
                    items: [
                        // Each item here is one entry in the navigation menu.
                        { label: 'Example Guide', slug: 'guides/example' },
                        { label: 'Test', slug: 'test' },
                    ],
                },
                {
                    label: 'Reference',
                    autogenerate: { directory: 'reference' },
                },
                {
                    label: 'Test', link: '/test/'
                },
            ],
        }),
    ],
});
localesの中にrootを設定することで、日本語に対応します。
サーバーを起動して、日本語に対応していることを確認します。

これで、日本語対応することができました。
ここまでで、最低限日本語のドキュメントサイトを作るには十分かと思います。
細かいカスタマイズは、Starlightのドキュメントを参考にしてください。